Excel Shortcut to Delete a Row [3 Video Demos]
In this tutorial, I will show you how to delete rows by using the keyboard shortcut.
You can watch the video demos below or see the step-by-step.
Shortcut for deleting a row
Use the following shortcut for deleting a row:
(Press the Ctrl key along with the minus key)
Video demo of deleting a row
Watch the video demo below for deleting the rows one by one:
Step by Step of deleting a row
Select a cell or click on the cell of the row that you want to delete.
Press the following keys:
Deleting multiple rows by shortcut
For deleting multiple rows using the above shortcut, follow these steps.
Press Shift + Spacebar to select a row.
Press Shift + Down/Up arrow key.
It will select rows downwards/upwards depending on the arrow you pressed.
Press the shortcut:
It should remove all the selected rows.
Video Demo of removing multiple rows
How to recover deleted rows immediately
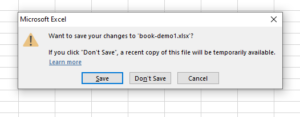
Accidentally removed a row that you did not want to?
If you have not closed the Excel sheet then press the following keys to recover the deleted rows.
Keep on pressing this shortcut if you want to undo the removal of multiple rows using the above shortcut.
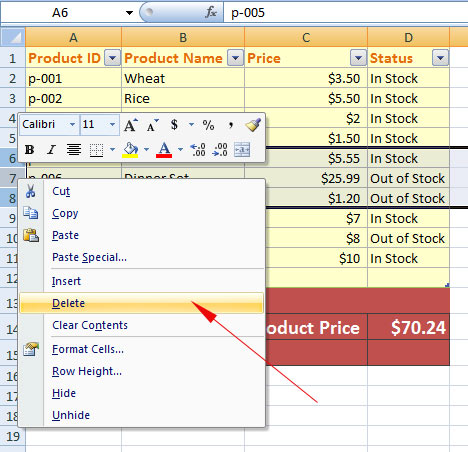
How to remove multiple rows using the mouse?
Select the adjacent rows that you want to delete by clicking the cell header.
Right-click on any area of the selected rows.
Click on the “Delete” option on the pop-up menu.
Watch the video demo
Deleting non-adjacent rows
In order to delete non-adjacent rows, press the Ctrl key and click on the row headers one by one.
Right-click on any area of the selected rows.
Click on the “Delete” option on the pop-up menu.